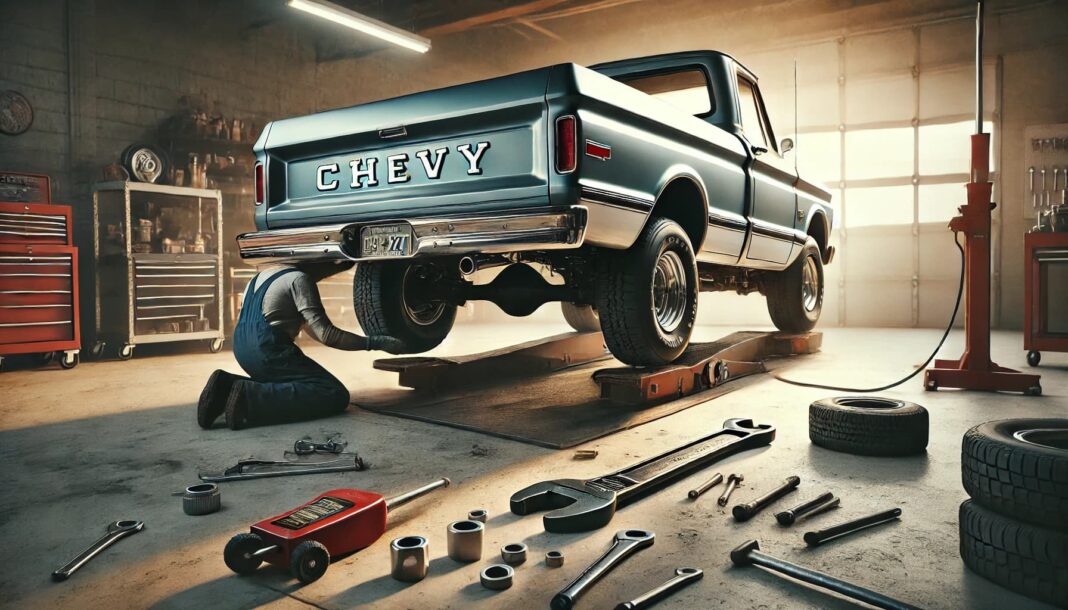
If you’re a proud owner of a Chevy C10, you know that every detail matters. One aspect that often gets overlooked is the alignment of the rear bumper. Over time, or after minor collisions, the rear bumper can become misaligned, either sagging or tilting in an unappealing way. Adjusting the rear bumper not only enhances the truck’s appearance but also ensures safety. In this guide, we’ll walk you through the process of tilting the rear bumper down on your Chevy C10, providing clear steps and tips to achieve the perfect alignment.
Understanding the Importance of Rear Bumper Alignment
Before diving into the adjustment process, it’s essential to understand why rear bumper alignment is crucial. A misaligned bumper can:
Affect Aesthetics: A crooked bumper detracts from the classic look of your Chevy C10.
Compromise Safety: Misalignment can reduce the bumper’s effectiveness in minor collisions.
Cause Additional Wear: Uneven weight distribution can lead to premature wear on mounting brackets and related components.
Tools You’ll Need for the Job
To adjust the rear bumper, gather the following tools:
- Socket wrench set
- Torque wrench
- Floor jack
- Jack stands
- Protective gloves
- Safety glasses
- Penetrating oil (if bolts are rusted or seized)
Step-by-Step Guide to Tilting the Rear Bumper Down
- Safety First
Before starting any work:
- Park your truck on a flat, stable surface.
- Engage the parking brake.
- Wear protective gloves and safety glasses to prevent injuries.
- Inspect the Bumper and Mounting Brackets
Examine the rear bumper and its mounting brackets for signs of damage, rust, or wear. If any components are damaged, consider replacing them before proceeding with the adjustment.
- Loosen the Bumper Mounting Bolts
Using your socket wrench, locate and loosen (but do not remove) the bolts securing the bumper to the frame. This will allow you to adjust the bumper’s position. Applying penetrating oil can help if the bolts are stubborn due to rust.
- Adjust the Bumper’s Position
With the bolts loosened:
- Use a floor jack to support the bumper’s weight.
- Carefully tilt the bumper downward to your desired angle. It’s helpful to have an assistant to ensure the bumper remains level from side to side during this process.
- Secure the Bumper in Place
Once the bumper is in the desired position:
- Tighten the mounting bolts by hand to hold it temporarily.
- Use a torque wrench to tighten the bolts to the manufacturer’s specifications, ensuring the bumper is securely fastened.
- Final Inspection
After securing the bumper:
Remove the floor jack and any tools from under the truck.
Step back and visually inspect the bumper to ensure it’s aligned correctly and meets your aesthetic expectations.
Additional Tips for Chevy C10 Owners
Regular Maintenance: Periodically check the tightness of the bumper bolts and the condition of the mounting brackets to prevent future misalignment.
Seek Professional Help: If you’re uncomfortable performing this adjustment or encounter issues, consult a professional mechanic experienced with classic trucks.
Conclusion
Adjusting the rear bumper on your Chevy C10 is a straightforward process that can significantly enhance your truck’s appearance and safety. By following this guide, you can achieve a perfectly aligned bumper, ensuring your C10 looks its best on the road. Remember, regular maintenance and attention to detail are key to preserving the classic charm of your Chevy C10.


